





See the Difference
Seamless Line Diffusers vs. Outdated

MINIMALIST DESIGN PHILOSOPHY
INNOVATIVE DESIGN
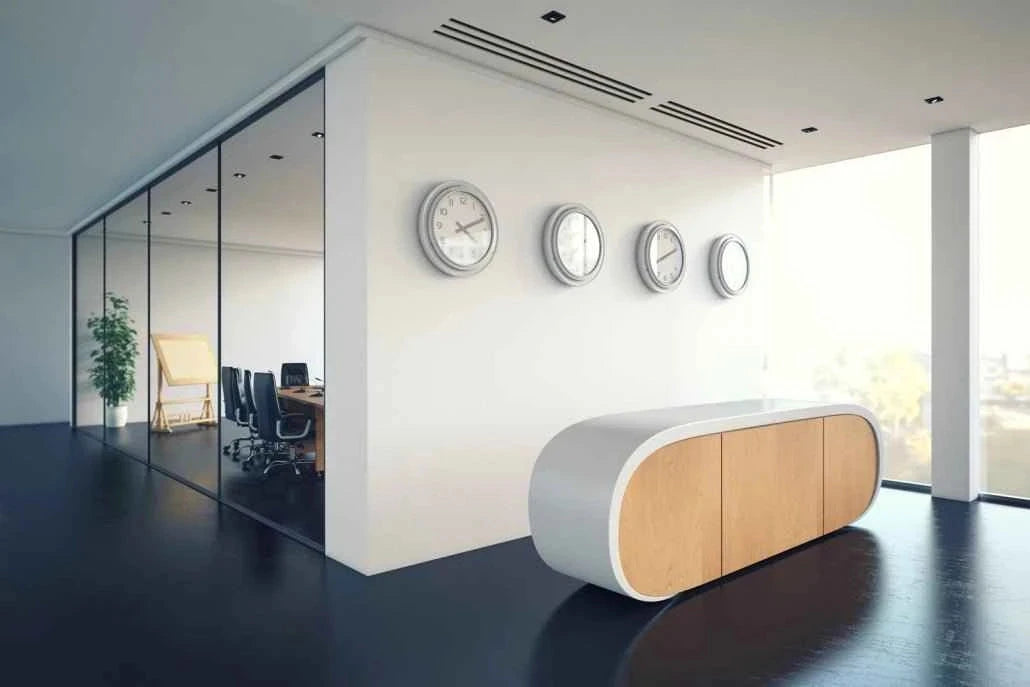
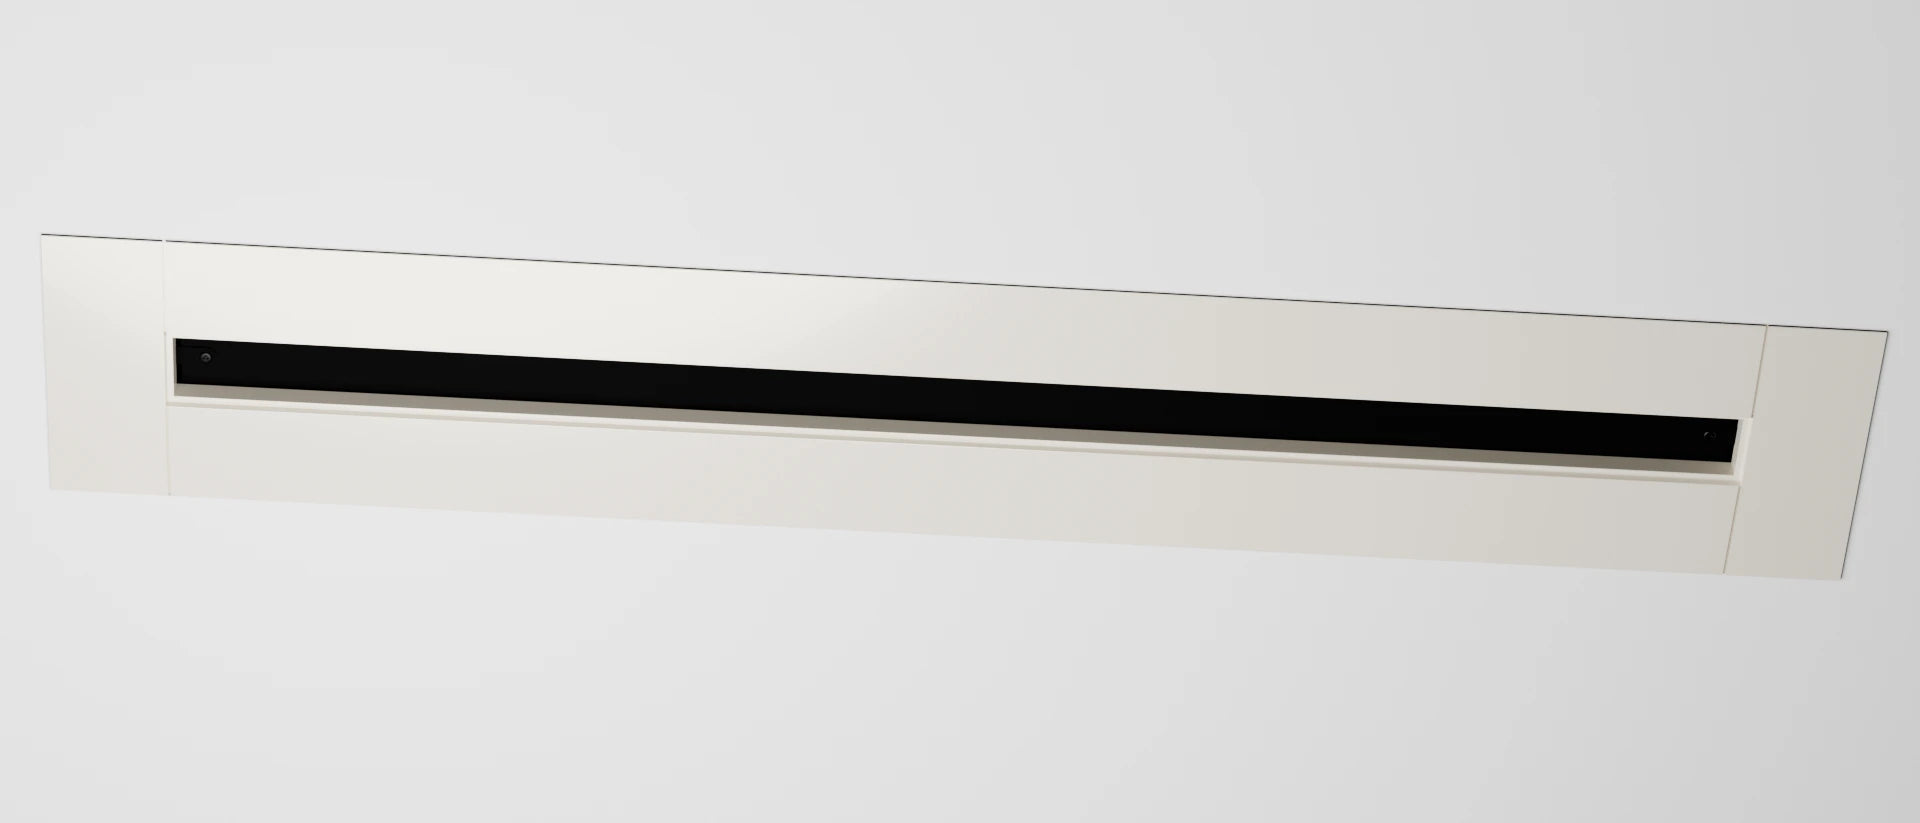
The Ventmann Line Gypsum Diffuser embodies true minimalism: comfort you feel, design you don't see.
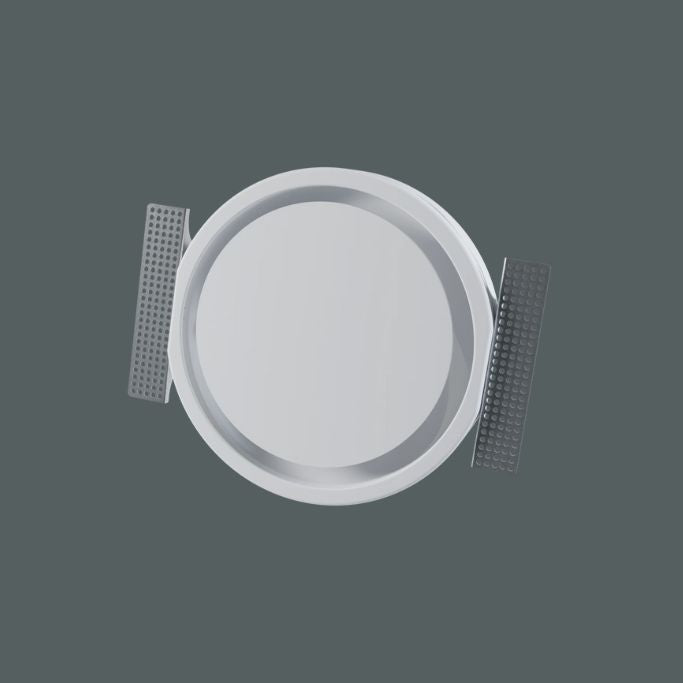
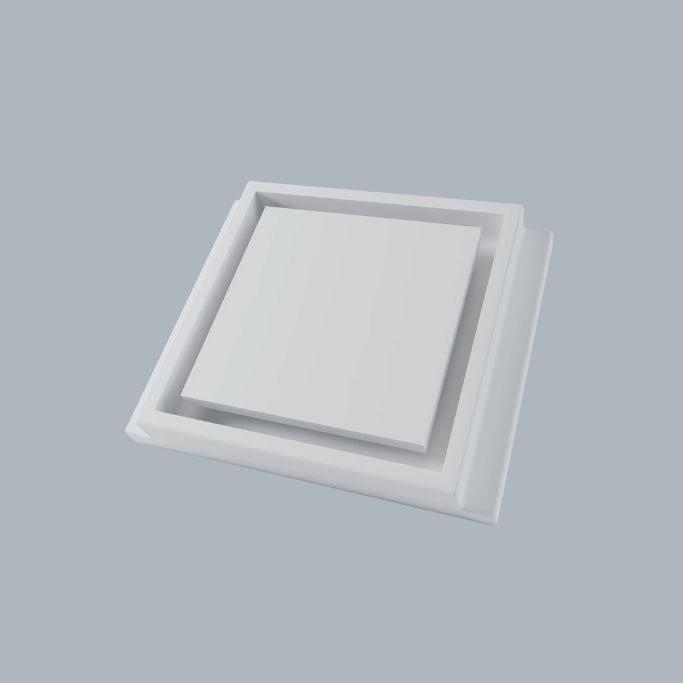
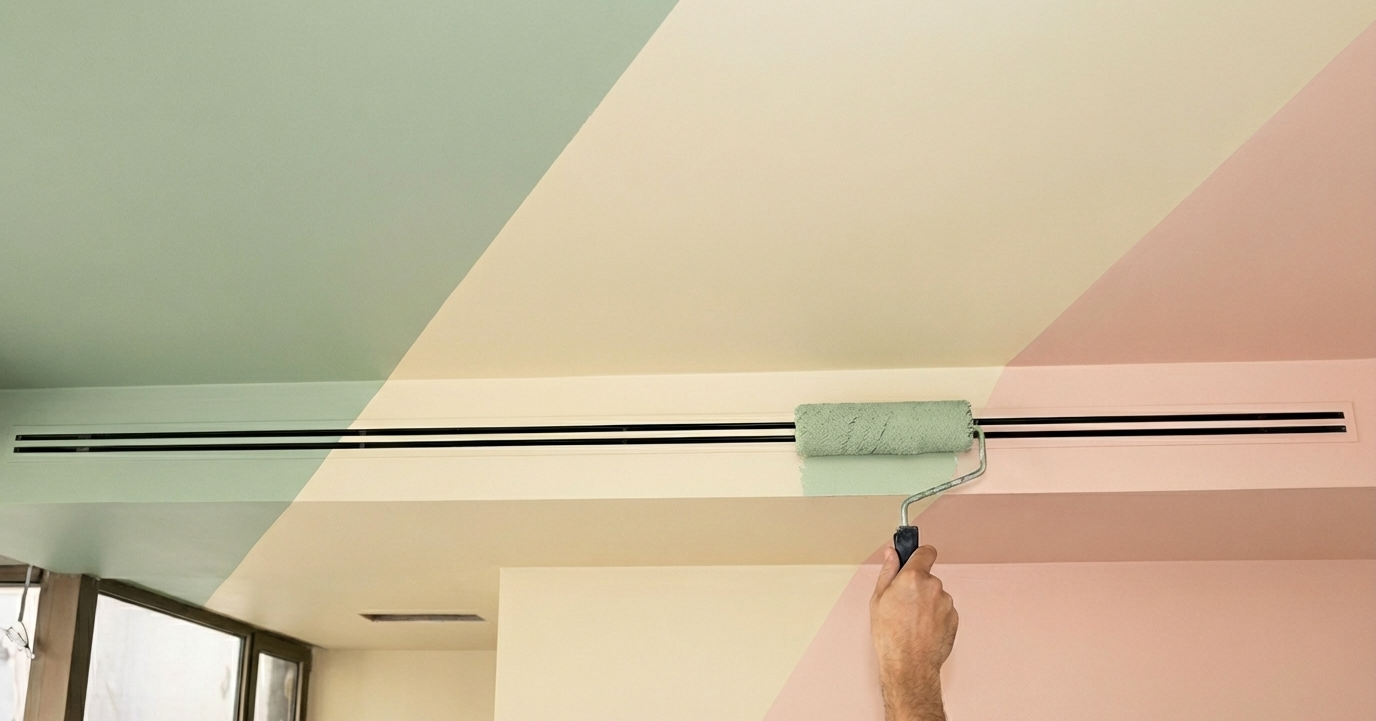
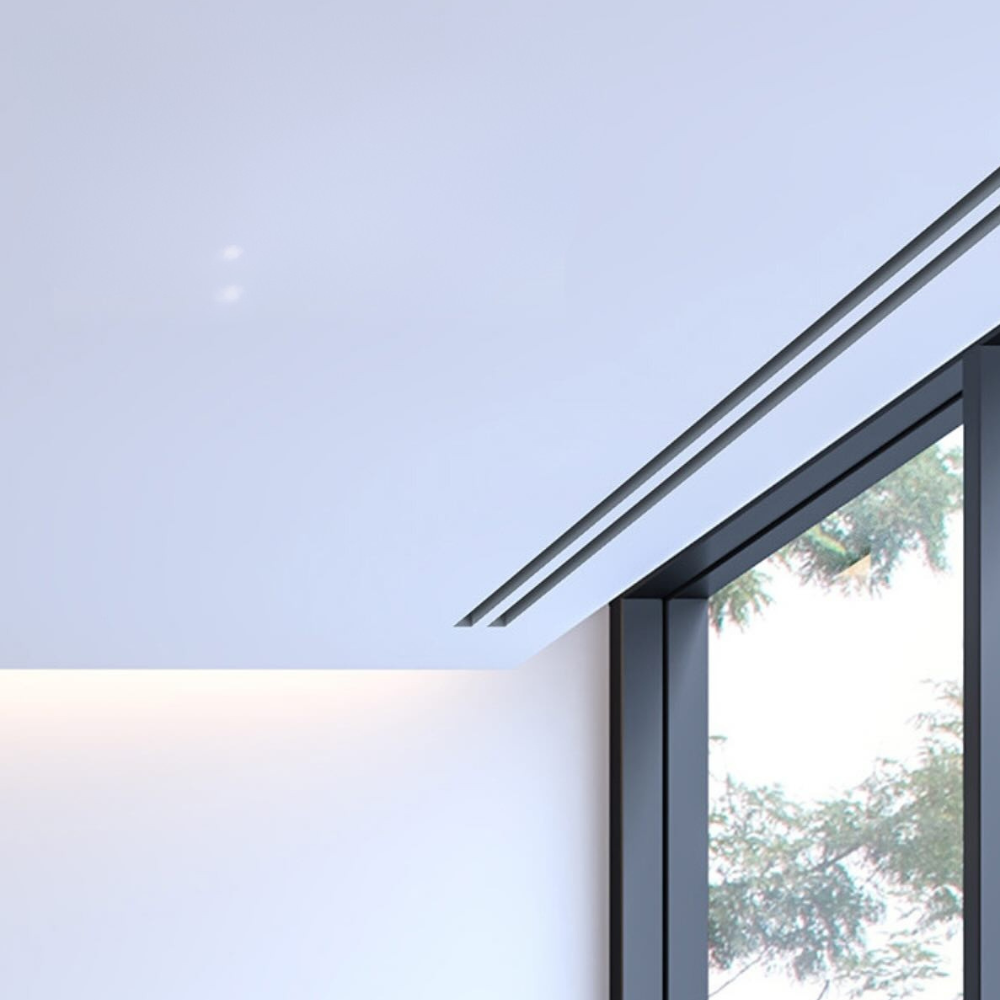
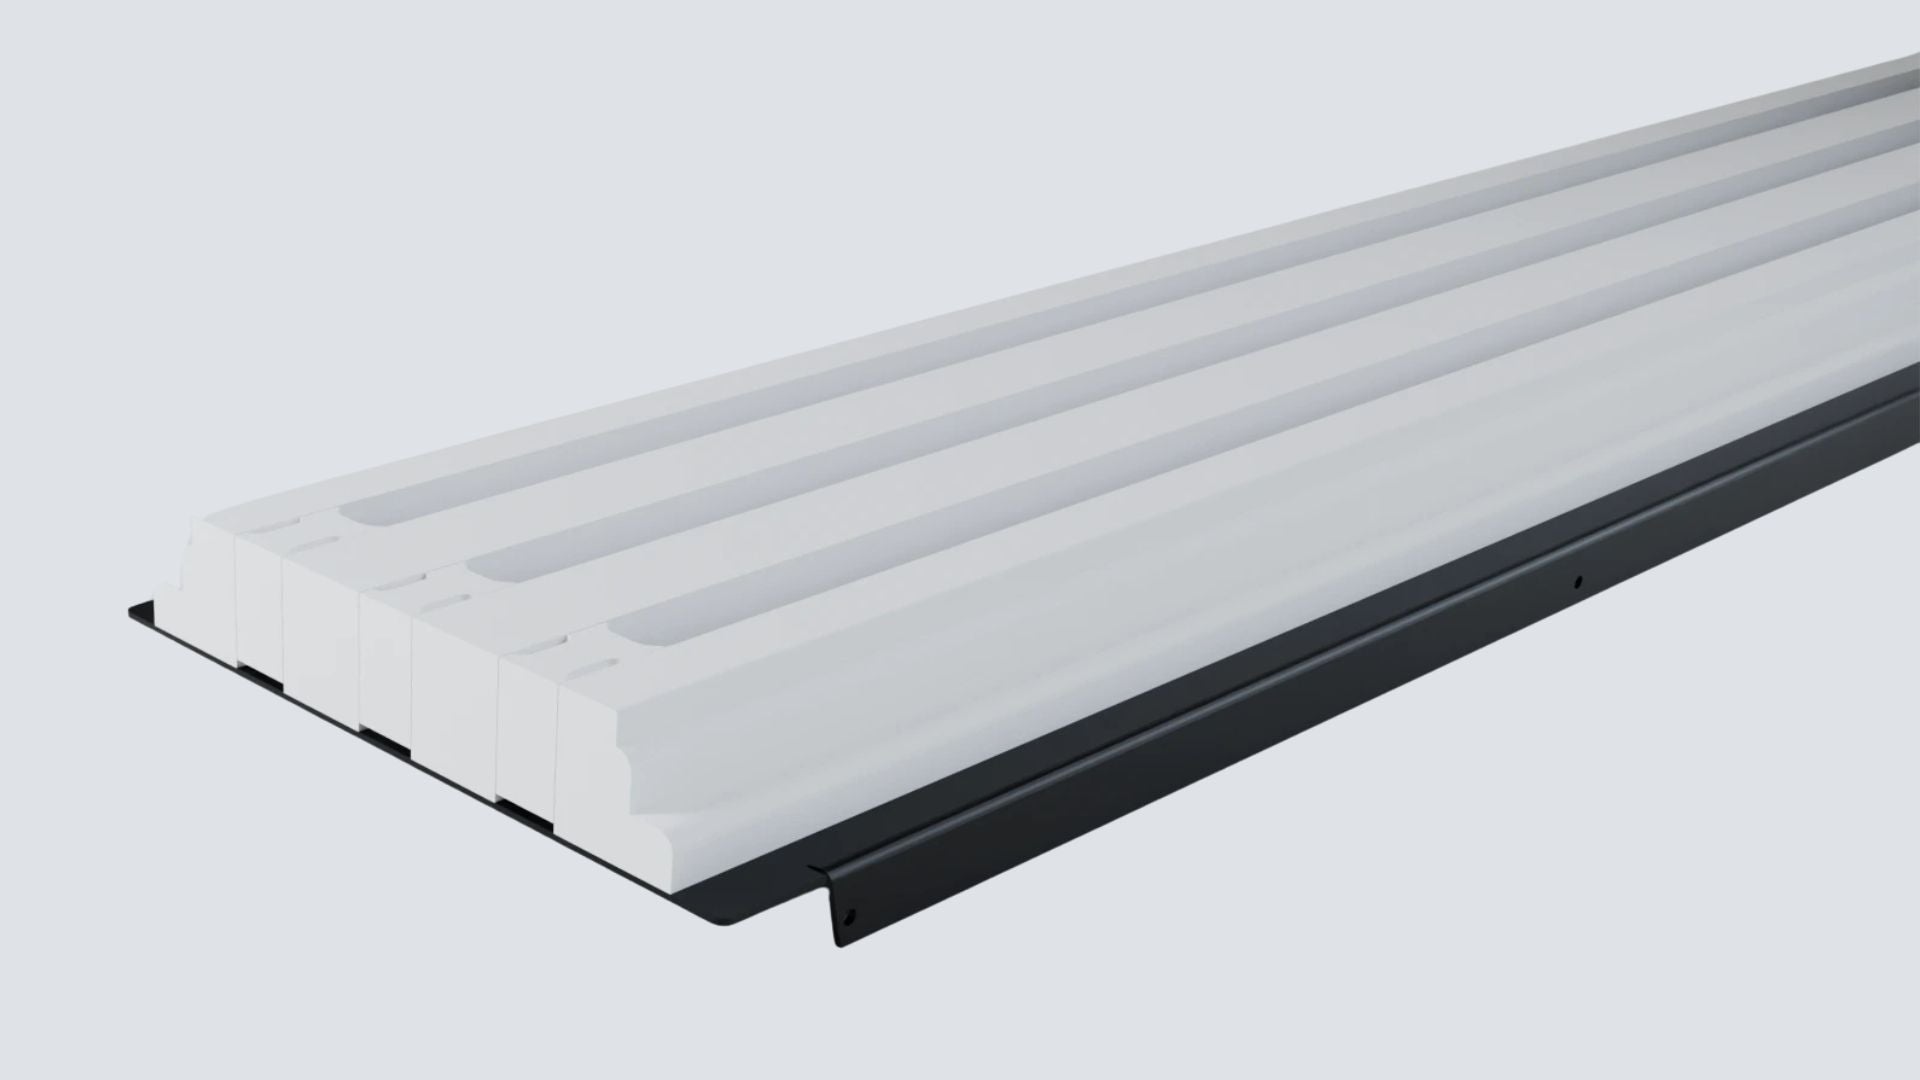
Made from natural gypsum, it installs directly into the ceiling or wall, achieving a flawless, zero-sightline finish once painted. It eliminates the visual clutter of traditional vents.
Crucially, it uses the Coanda effect to deliver air draft-free, wide across the surface. This marriage of invisible aesthetics and award-winning performance (Red Dot Award) makes it essential for refined, modern spaces.
Discover how Ventmann solutions can be integrated into your design.

LINE PRODUCT GALLERY
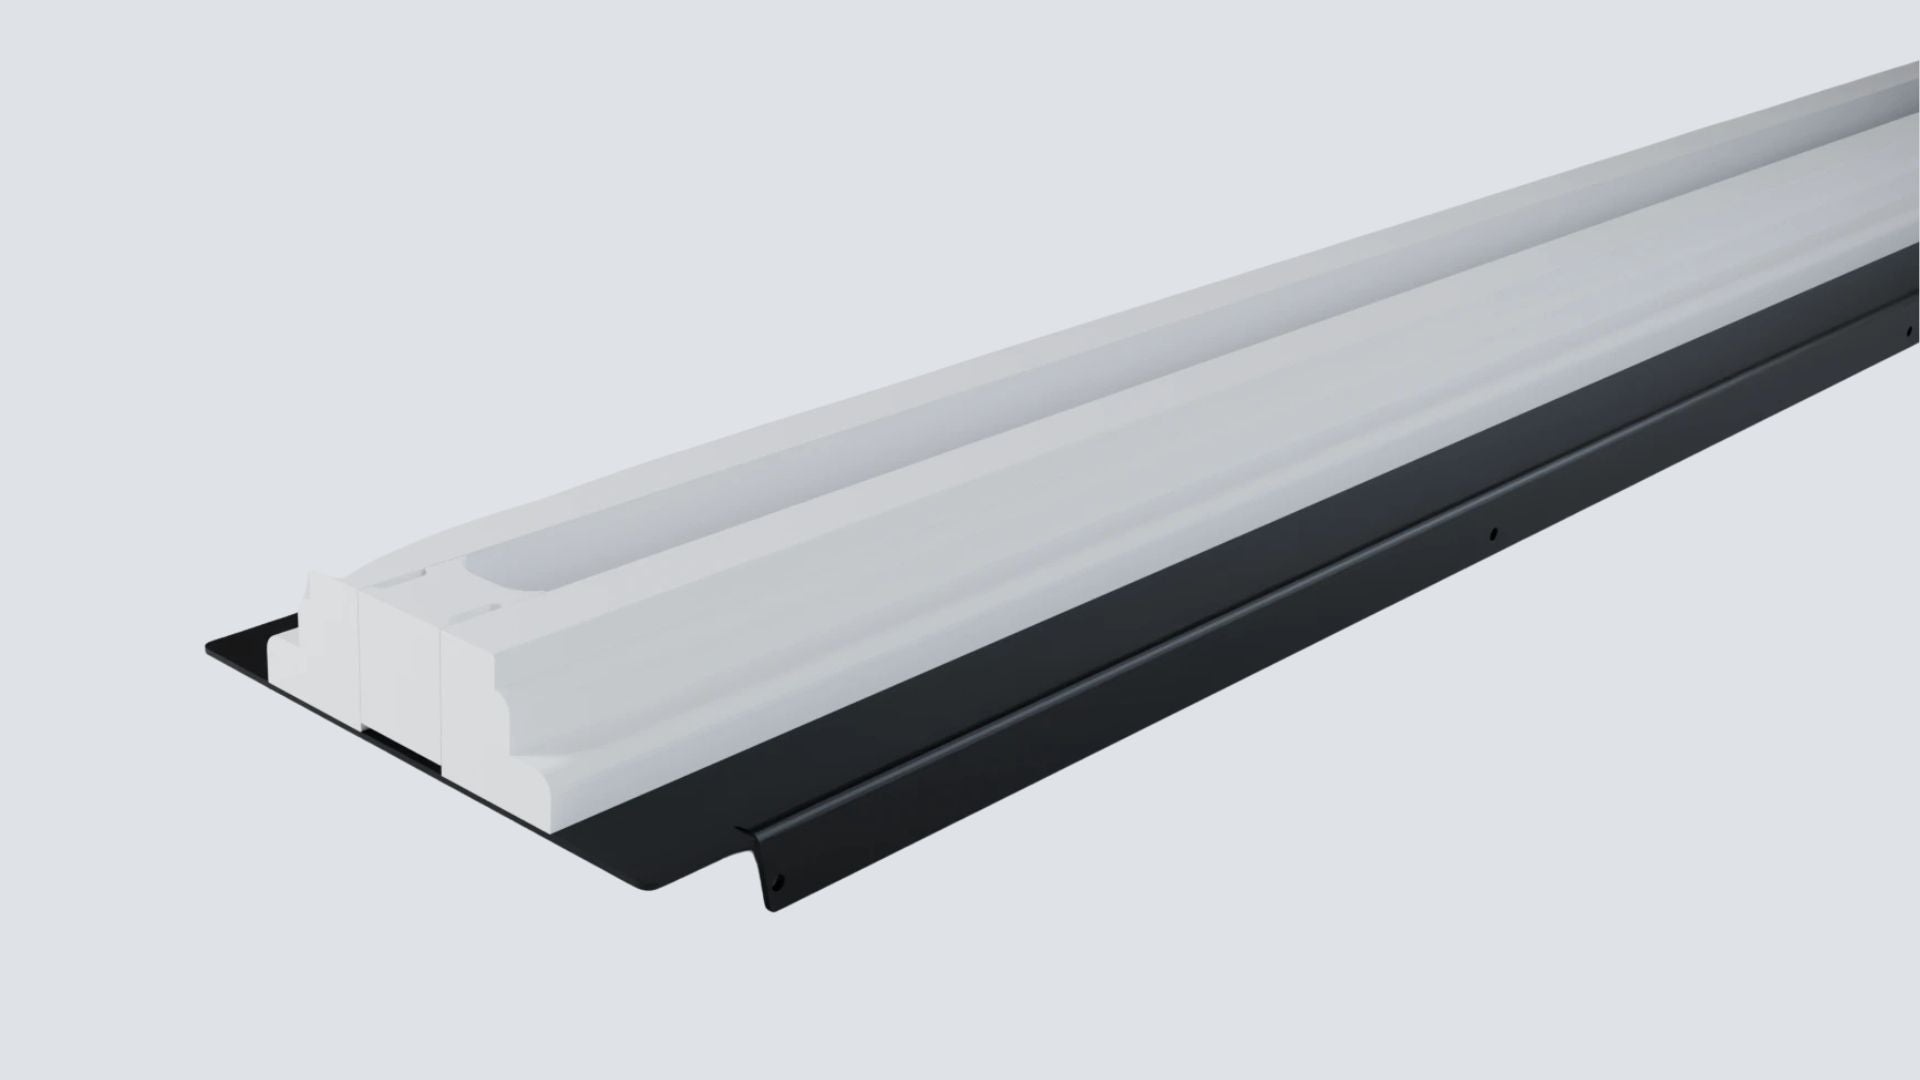
VENTMANN LINE DIFFUSERS
Discover our LINE Model
ABOUT LINE MODELS
Frameless Design, Flawless Integration
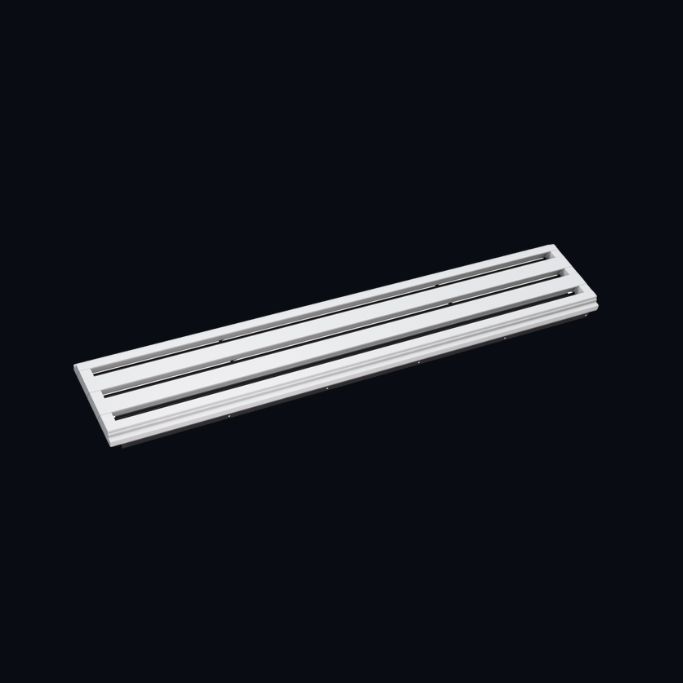
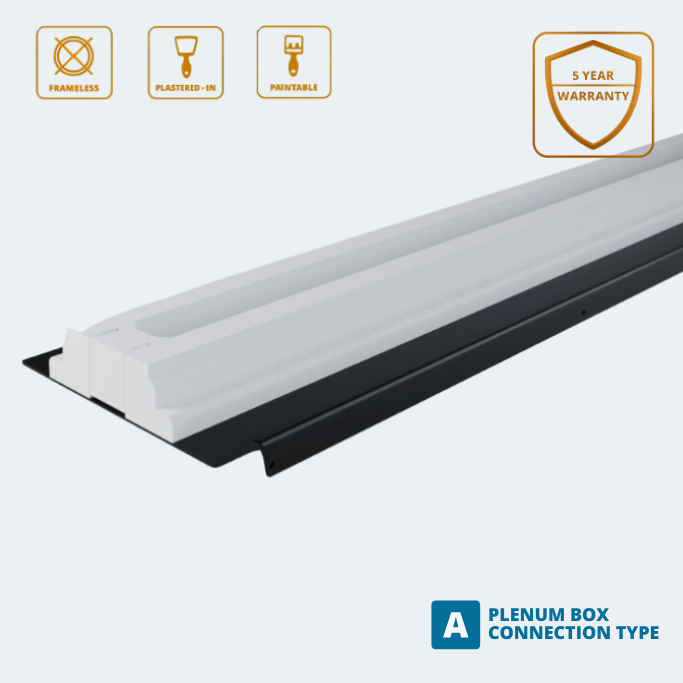
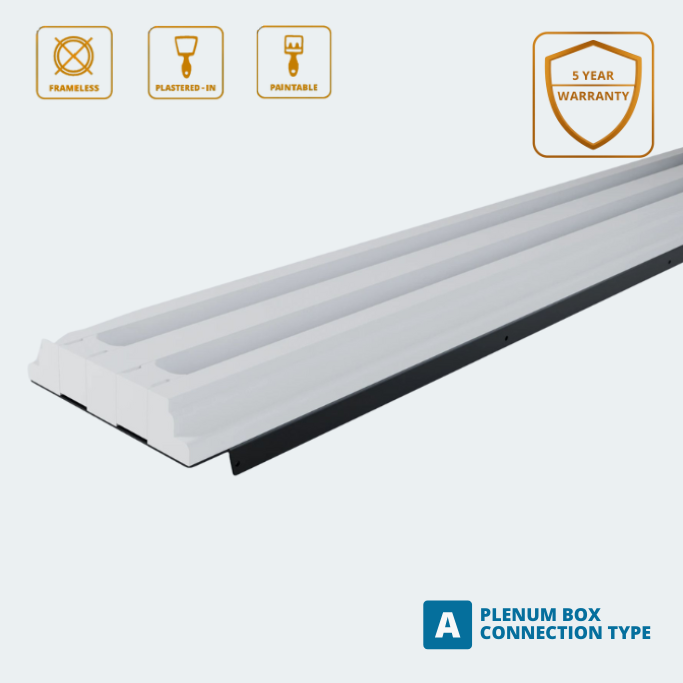
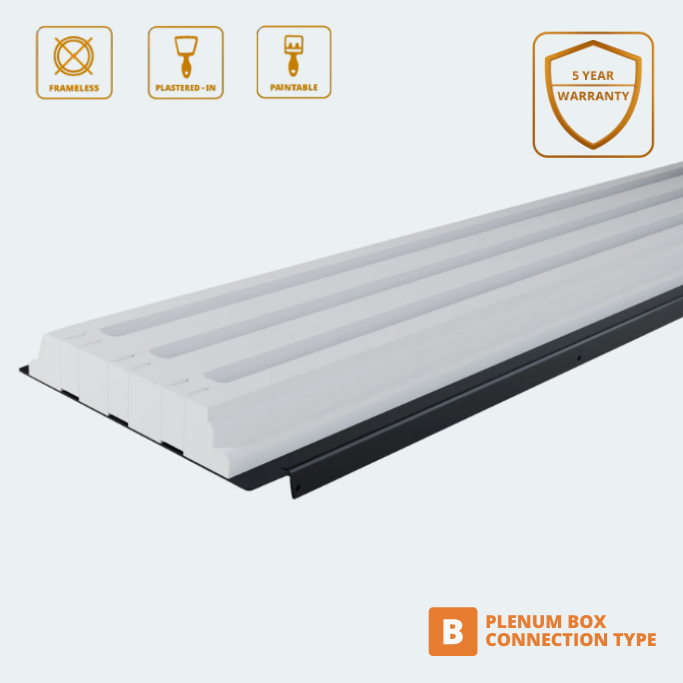
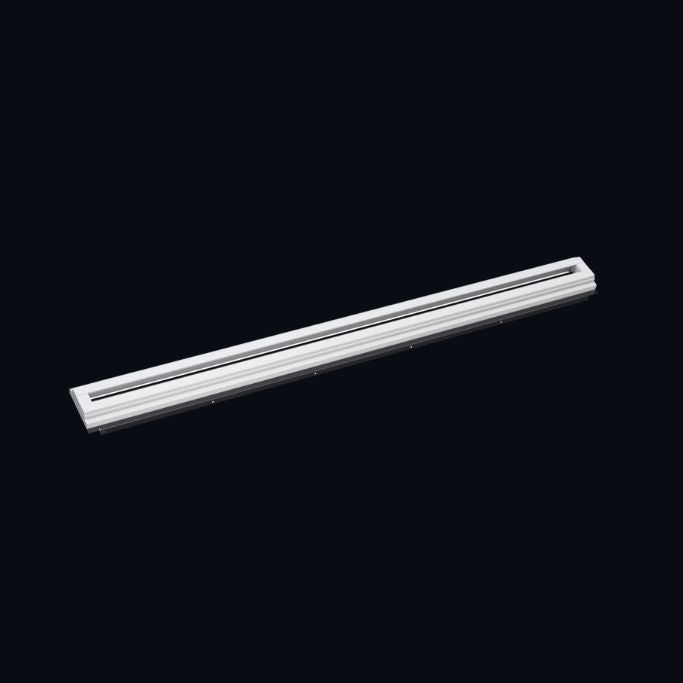
Our key innovation is the frameless slot diffuser made from durable materials that plaster directly into your surface. By using standard plasterboard jointing compound, the diffuser achieves a truly seamless finish—it becomes an integrated part of your ceiling or wall.
- Aesthetic: The slot is the only visible element, maintaining a sleek, modern design.
- Finish: The vent material is the same as its surrounding plasterboard for perfect continuity once painted.
Performance Tailored to Your Space
The Line Models offer extensive flexibility, ensuring optimal airflow for any application, from quiet residential homes to demanding commercial spaces.
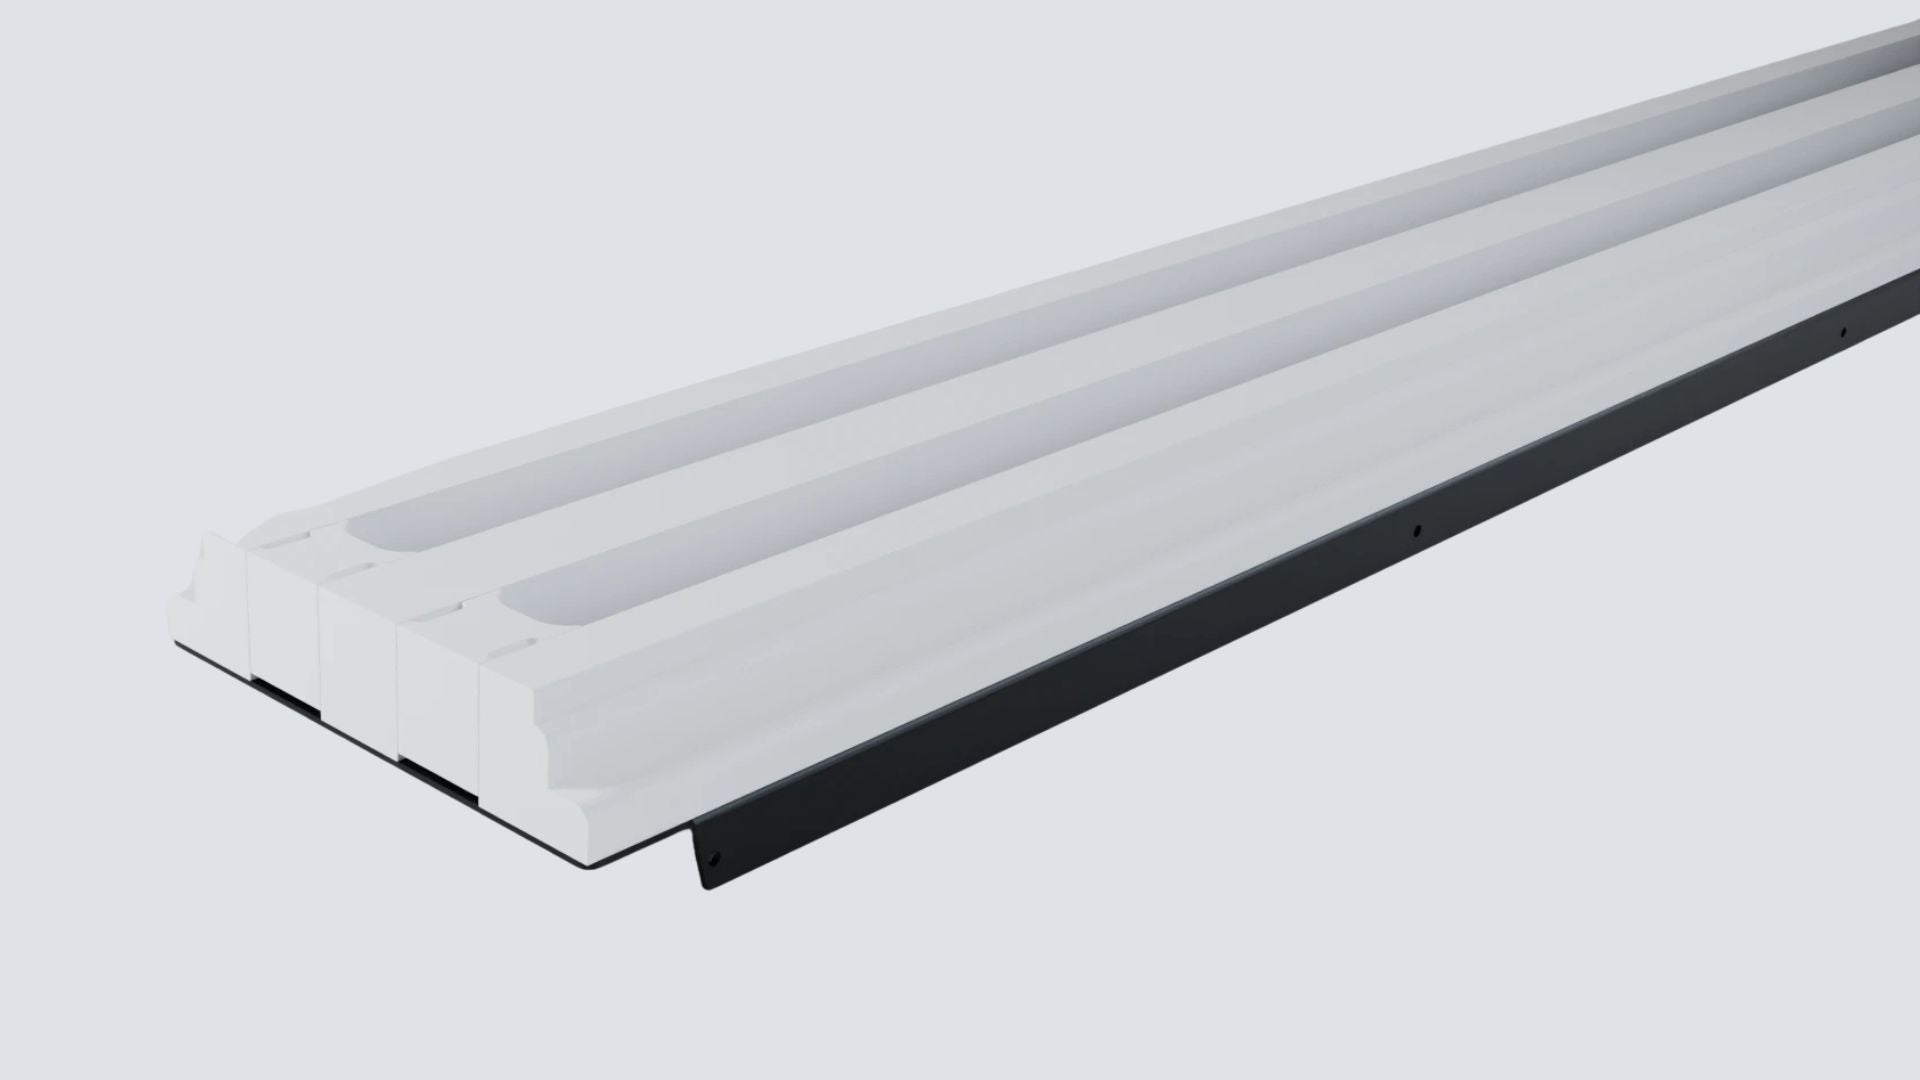
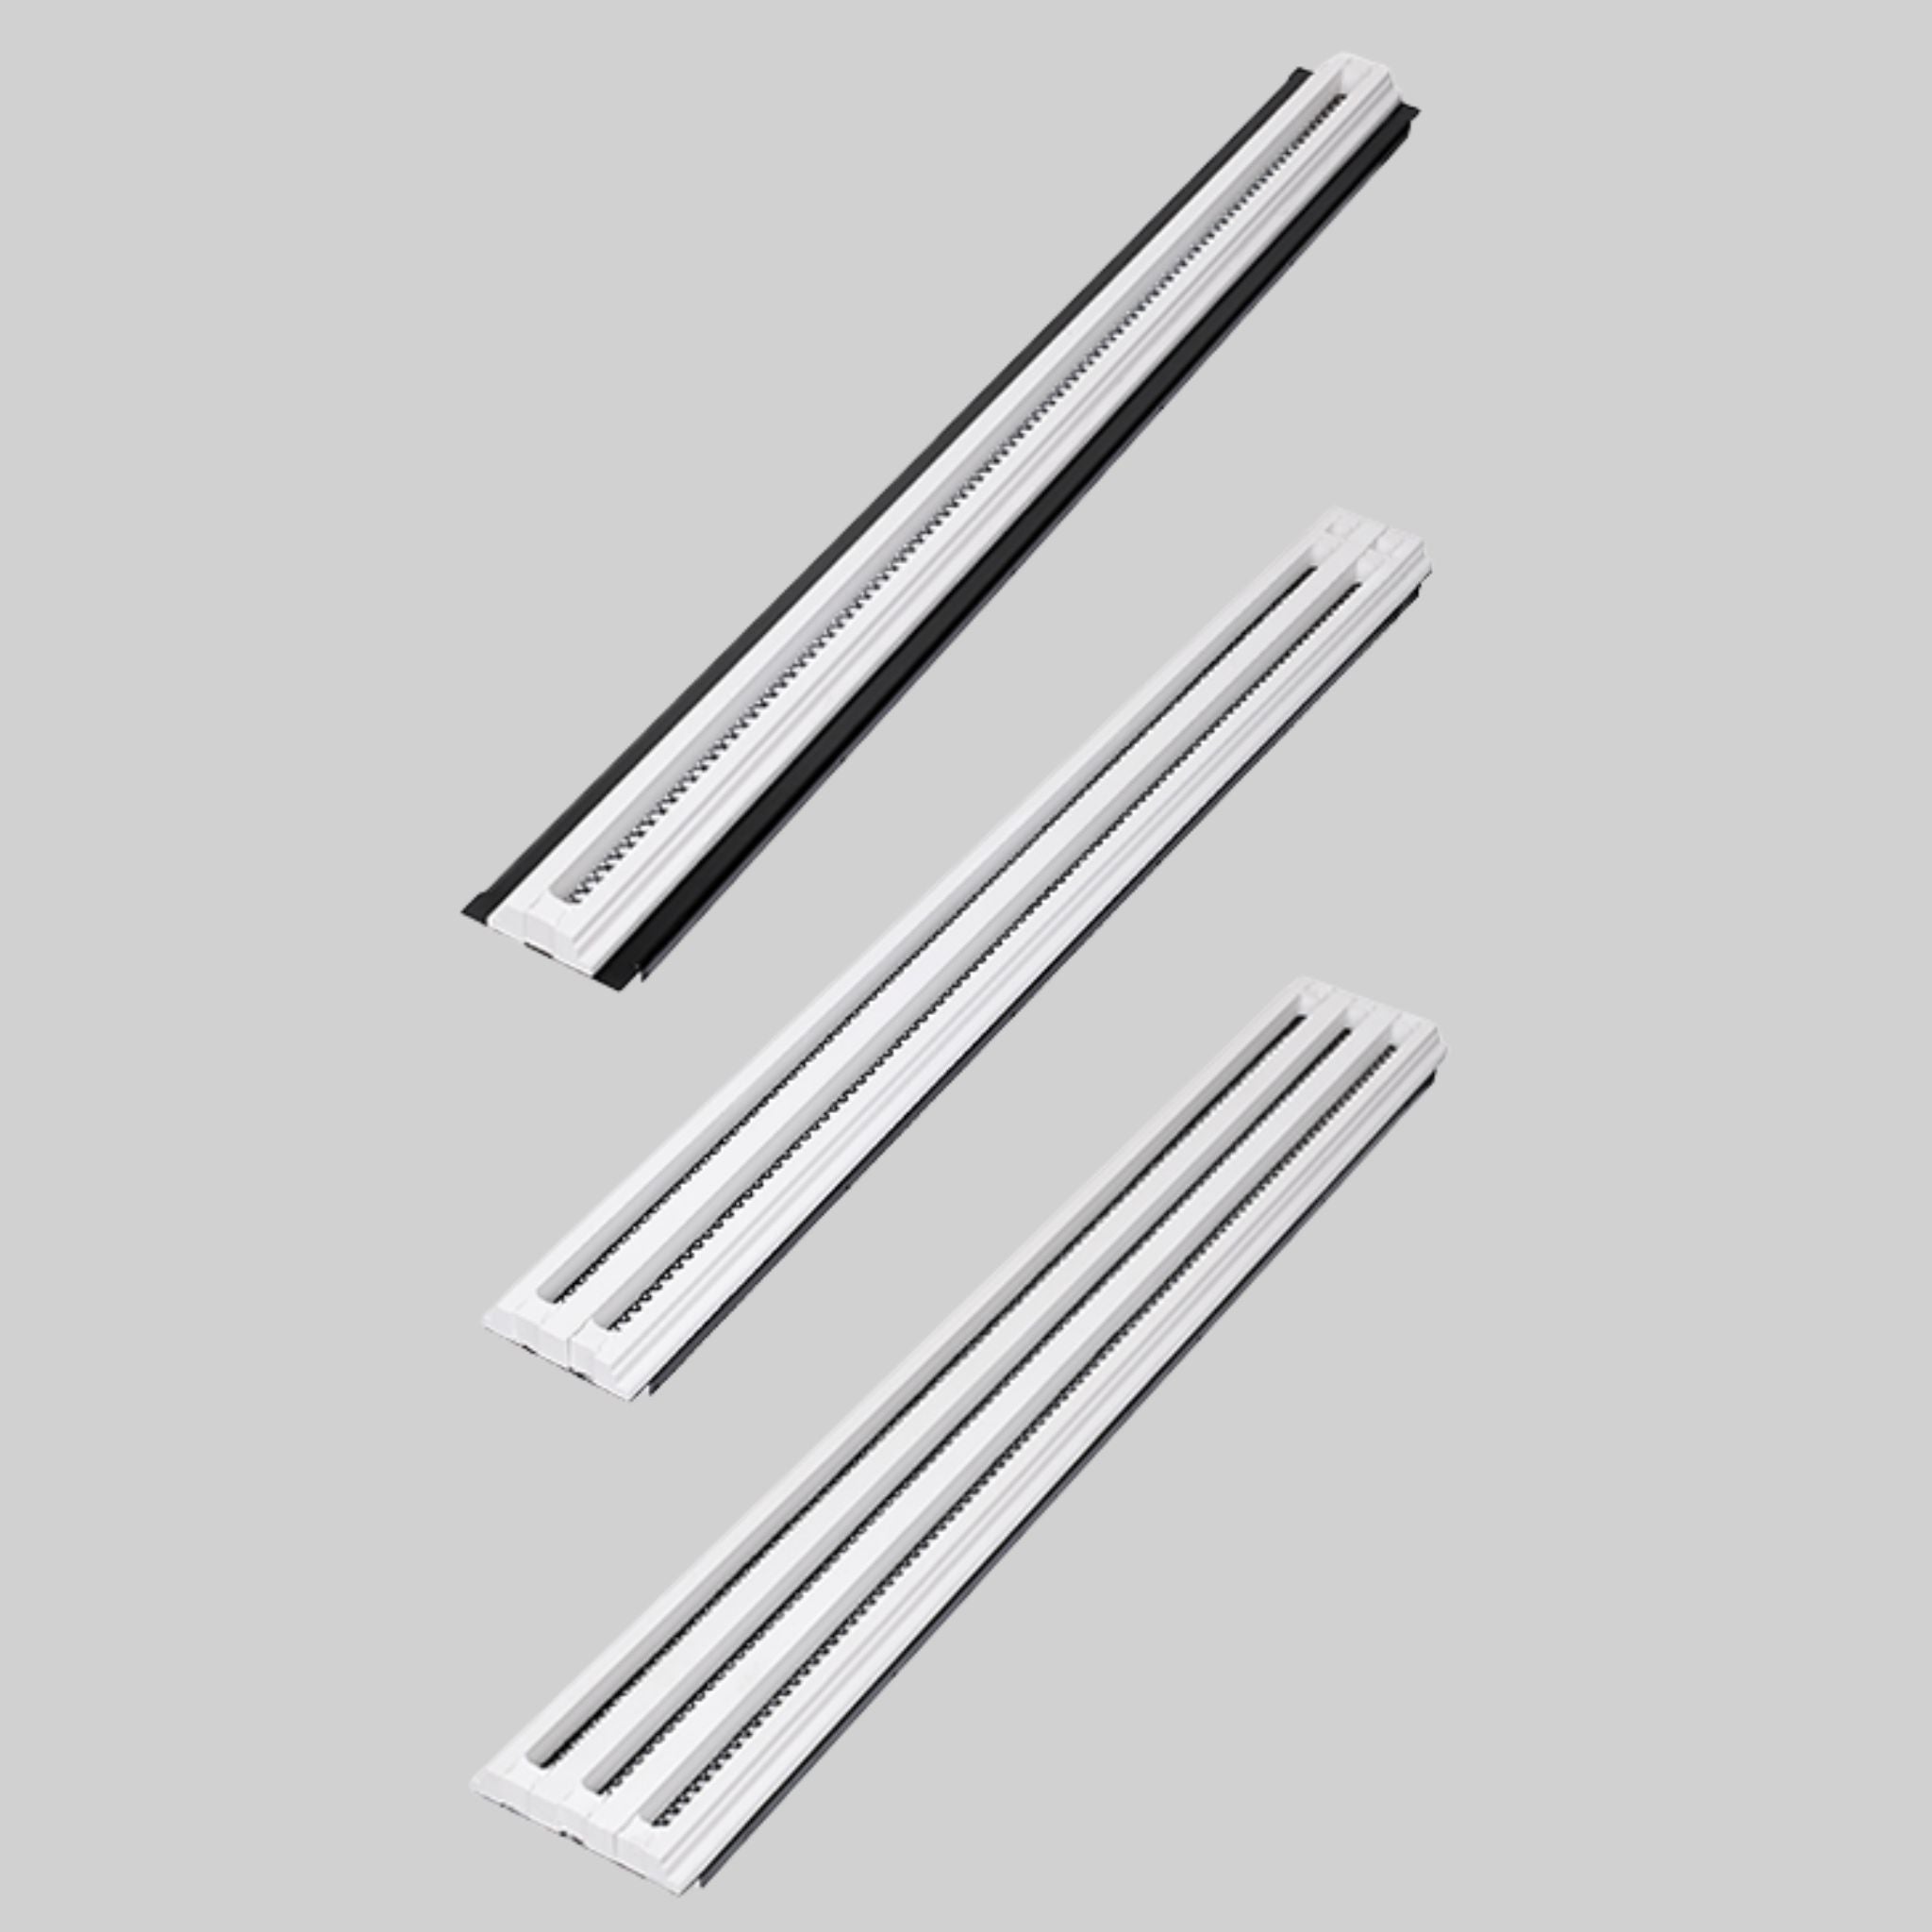
- Versatile Sizing: Available in three standard lengths (1250mm, 1000mm, and 625mm).
- Capacity Options: Choose from 1, 2, or 3 slots to match required airflow volume.
- Precision: Available with two slot gaps (12mm and 18mm) for fine-tuning performance.
- Functionality: Easily adjustable airflow patterns to maximize comfort and air flow dispersal.
Step 1
Line Diffuser Installation Instructions
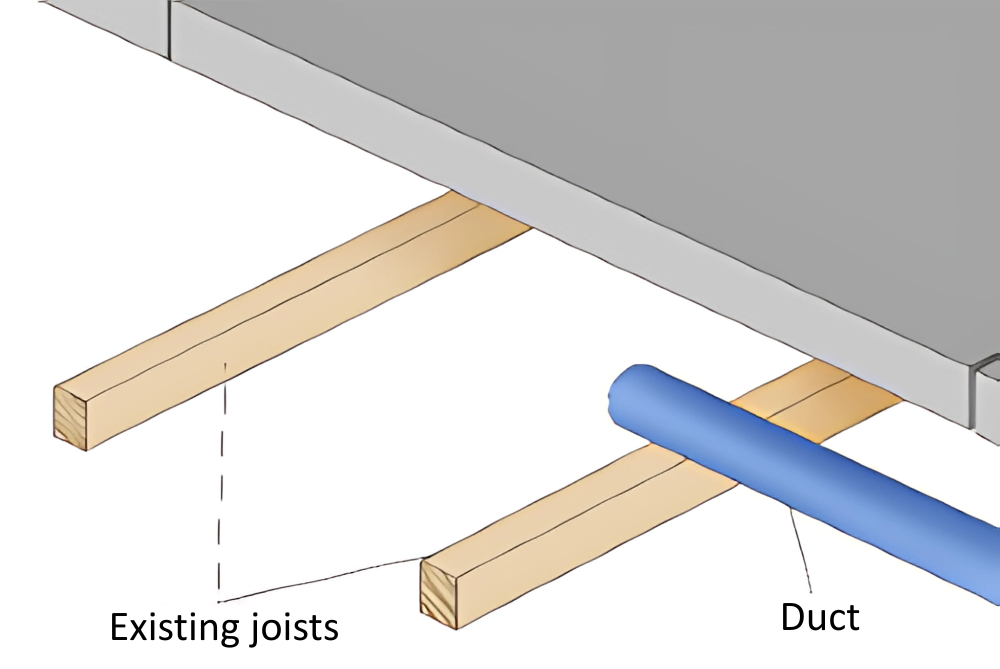
Pre-position the ventilation duct in the ceiling
void, above, through, or alongside the ceiling
joists. If required, purchase reducer(s) to suit
the size of duct and spigots (by others).

Step 2
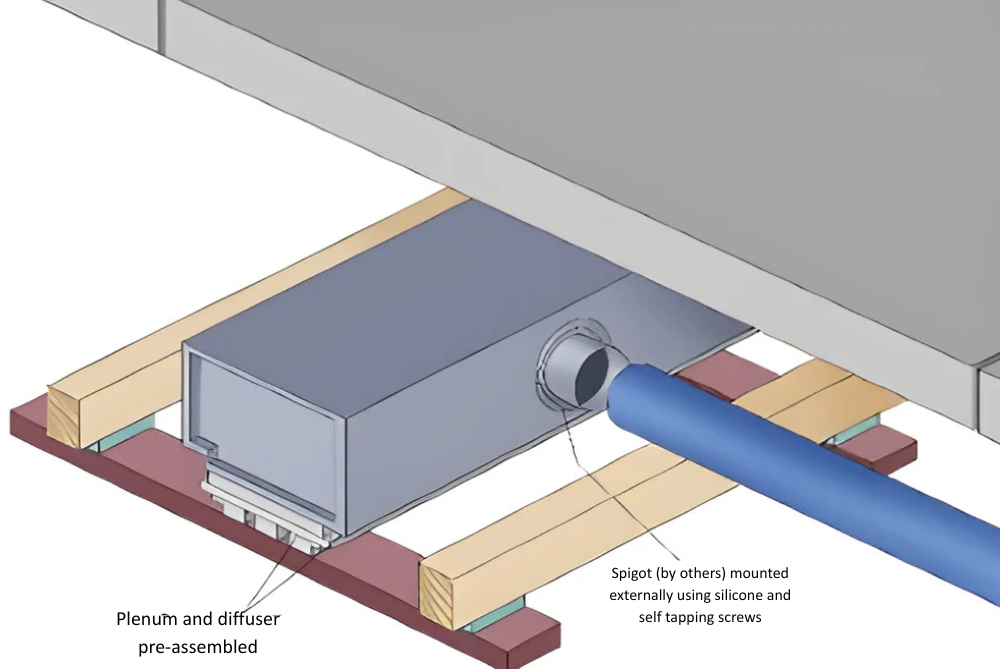
Fit temporary batons with plasterboard
spacers that are the same thickness as the
final ceiling plasterboard sheet. Where metal
plasterboard rails are employed, suitable self
tapping screws will be required.
Step 3
Fit pre-assembled* diffuser, plenum box and
spigot(s) on top of temporary batons. Note
that spigot (by others) is surface mounted on
plenum using self-tapping screws and
silicone.
*Using screws provided
Step 4
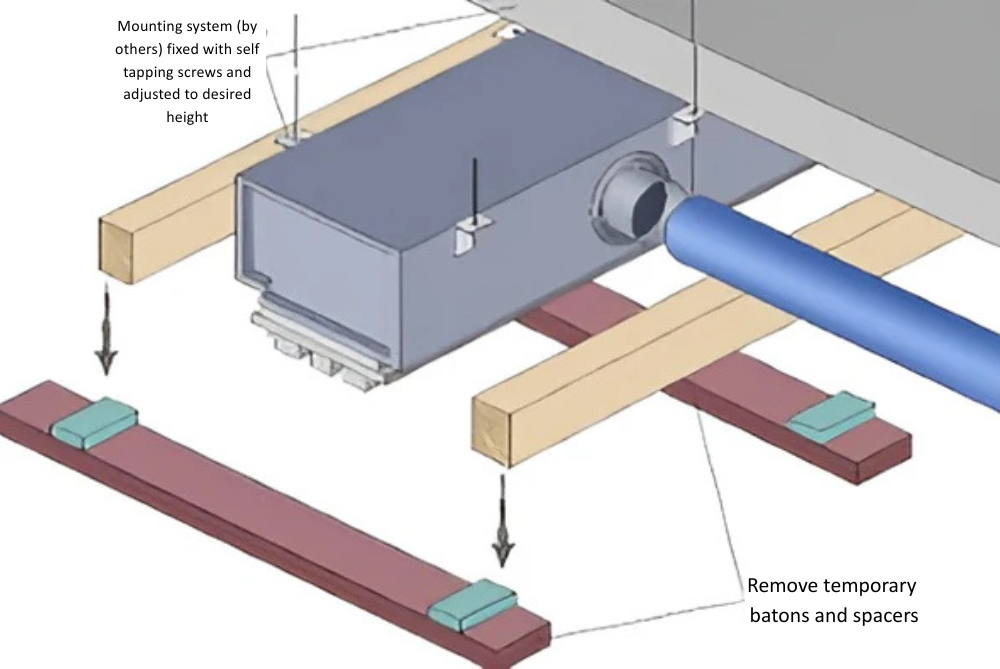
Fix plenum to upper surface using proprietary
fixings (Unistrut etc) (by others). Fix to
plenum with self-tapping screws. Adjust
height of the plenum so that the face of the
diffuser just touches the top of the batons.

Step 5
Remove temporary batons and plasterboard
spacers. Measure and cut the hole in the
main plasterboard sheet. Lift the
plasterboard sheet to meet the diffuser and
fix in place as normal using plasterboard
screws.
Step 6
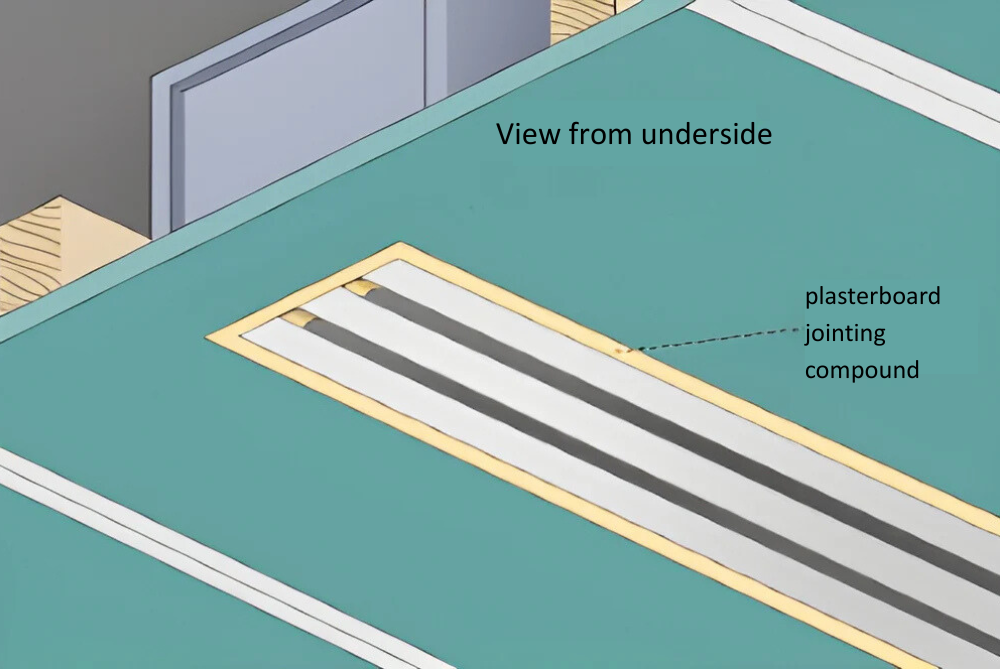
From the underside, use a jointing compound
to fill the gap between diffuser and
plasterboard. If required, move magnetic
blocks to desired length and fix in place using
jointing compound. Sand and paint.
Related Blog Posts
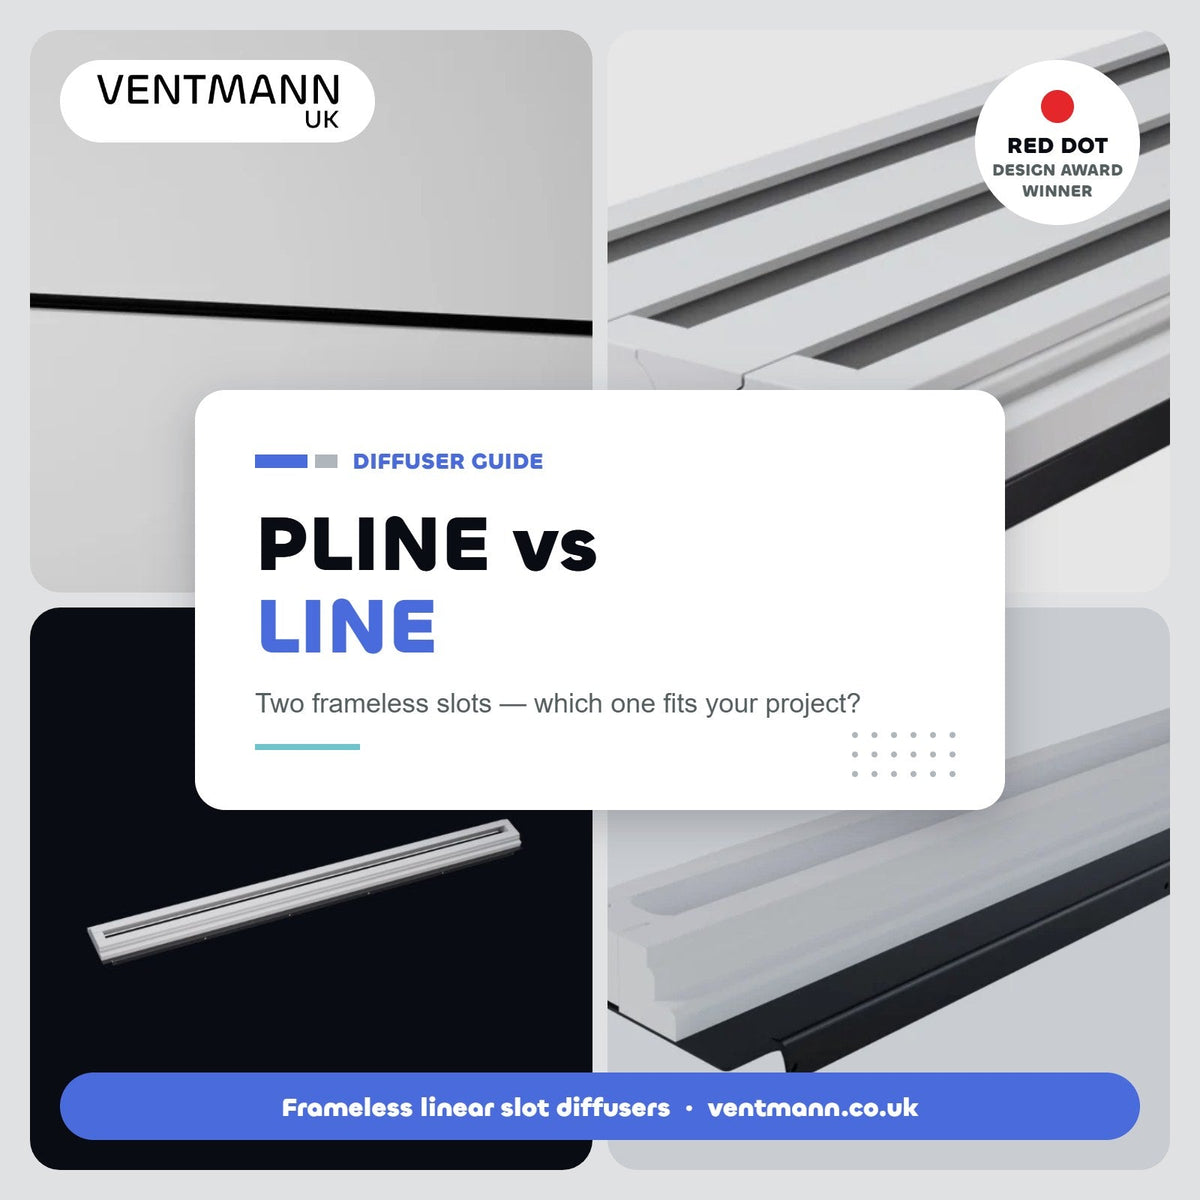
PLINE vs LINE Diffusers: Which Frameless Linear Slot Diffuser Do You Need?
Both are frameless gypsum slot diffusers that plaster in flush, so what is the difference? We compare Ventmann's Performance Line (PLINE) and LINE diffusers on airflow, sizes, installation, price and where each one belongs.

Heat Recovery Ventilation: How Much Heat It Saves and How to Maximise It
How much heat does heat recovery ventilation actually save? A worked example, the types of heat exchanger, summer bypass and frost protection, and the design details that protect real-world efficiency.
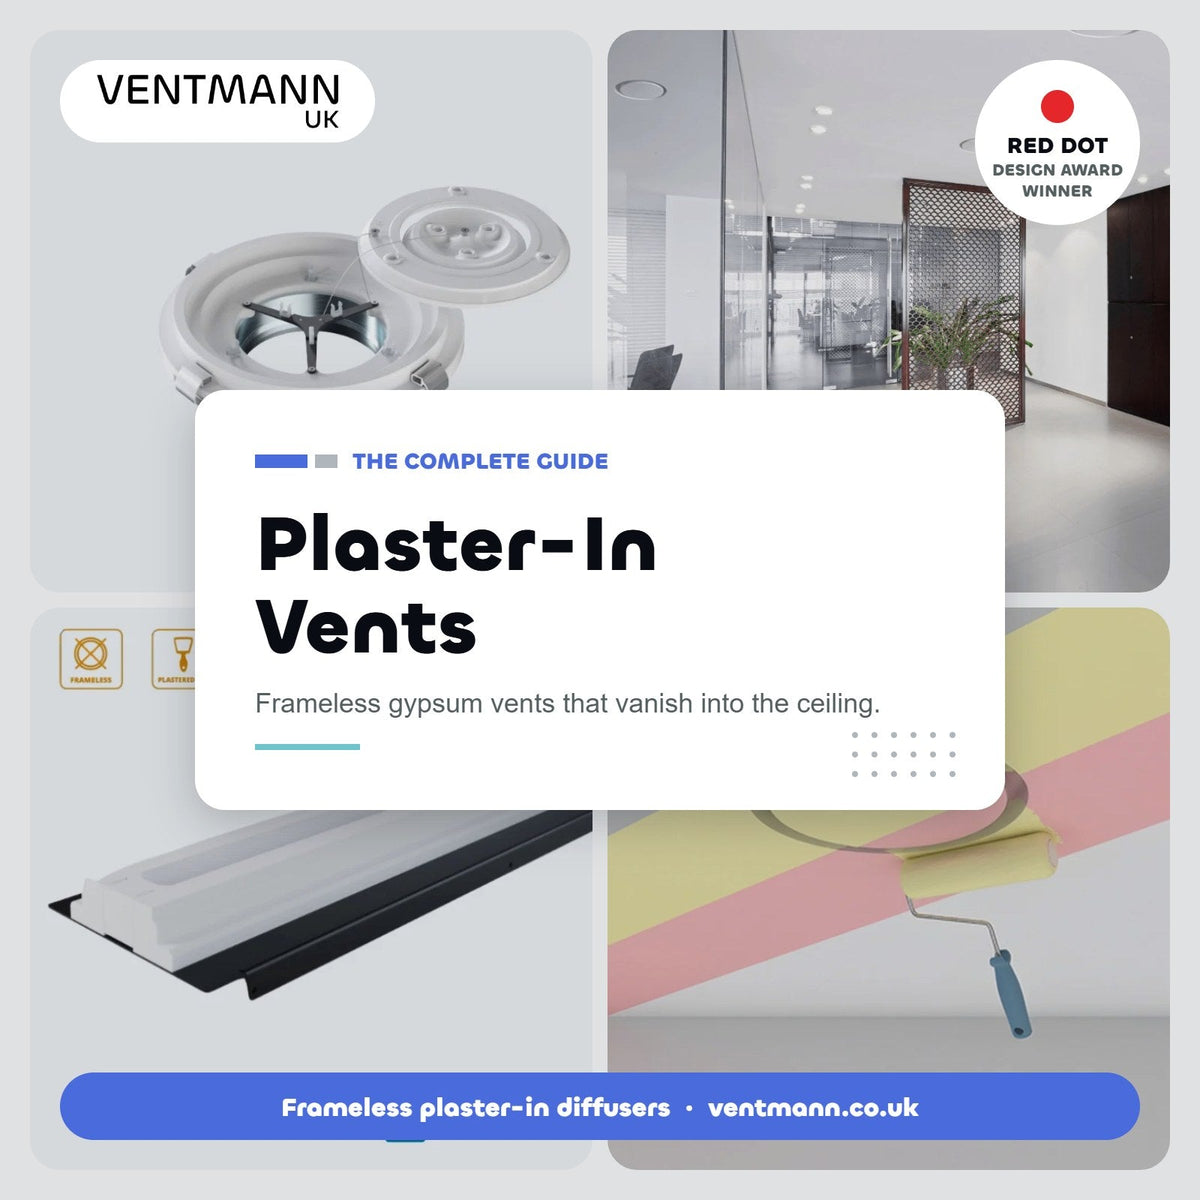
Plaster-In Vents: The Complete Guide to Frameless Gypsum Air Vents
Everything about plaster-in vents: what they are, where they work, how they are installed and finished, and the mistakes that spoil a perfectly flush ceiling.